Do it yourself Diaper Genie hack with garbage bags to save money

Do it yourself Diaper Genie hack to use your own garbage bags and save money
The Diaper Genie is a great invention. It's a decent looking garbage pail that is volumous enough to hold lots of dirty diapers and does a decent job of keeping the smells from leaking out. But the one crap (you see what I did there?) thing about it are the Diaper Genie refills. Certainly they are convenient, and do their intended job, but the costs for refills add up quickly if your child produces a lot of diapers or if you have more than one child in diapers.
Fear not, there's a way to save money without compromising the smell of your home! It's easy to hack your Diaper Genie to use a typical large garabage bag instead of a refill.
A few notes on using your own garbage bags
- In some jurisdictions, diapers are considered organic and can go in green bins for garbage pickup. There may be rules around what type of bags are allowed in green bins, so check to make sure the bags you use are allowed.
- Since you are using your own garbage bags you won't be using the cutter inside the Diaper Genie. There's no need to cut or tie a knot in a new bag anymore like with the Diaper Genie refills.
What you'll need
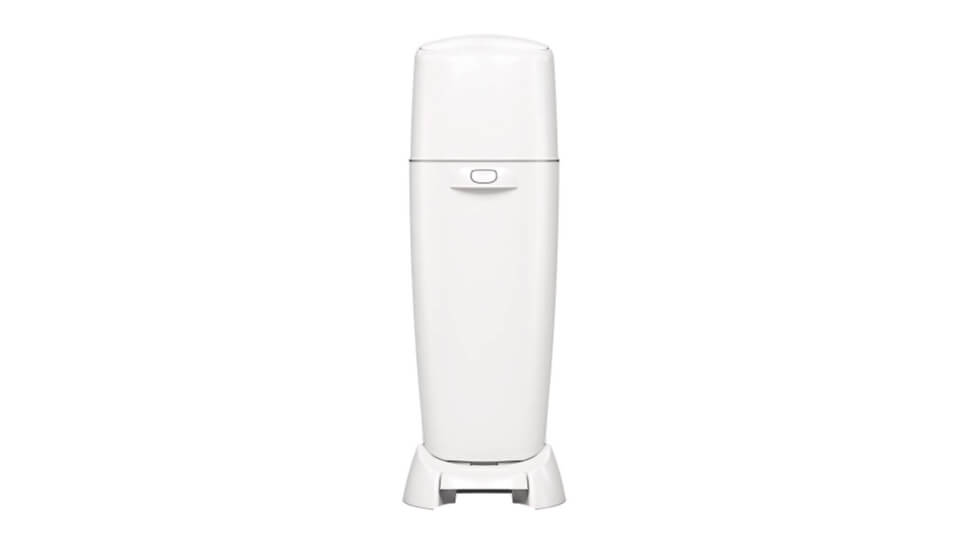
- A Diaper Genie - Obviously
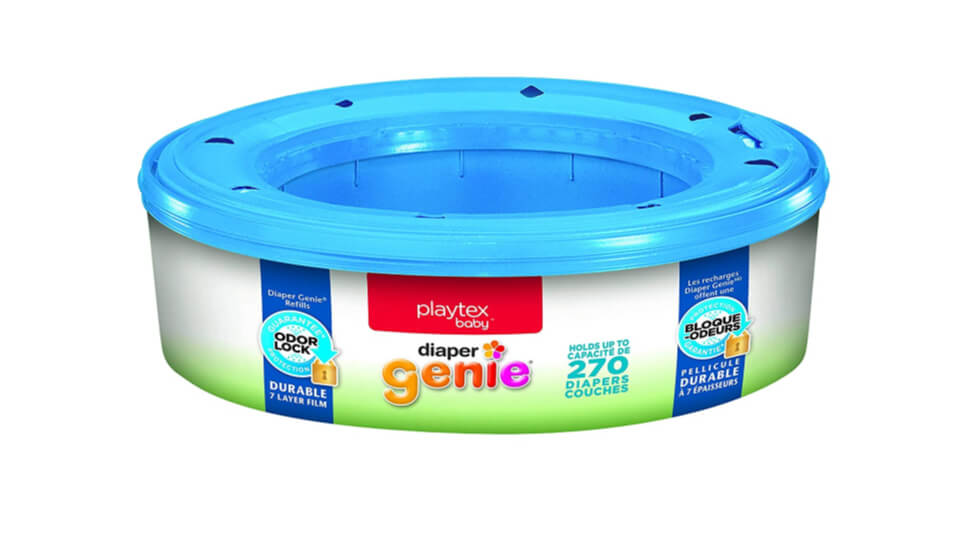
- A Diaper Genie refill ring - The garbage bag will hang from this. Ask a friend for one to give you theirs once they are done with one, if you don't have one.

- Garbage bags - You'll need some with that are at least 6" (15 cm) longer than the height of your version of the Diaper Genie. The version used in this article required a bag that was at least 20" (51 cm). This is so that the bag is long enough to touch the bottom of the Diaper Genie.
How to setup a Diaper Genie using your own garbage bags
Step 1: Open up a garbage bag
Open up a garbage bag and separate the sides of the bag from itself. This will ensure that diapers will fall to the bottom of the garbage bag when it's in use.
Step 2: Get the Diaper Genie ring

Make sure the Diaper Genie is oriented correctly. The opening should be facing up, and the writing on the side of it should be right-side-up. This one is pretty deformed after nearly 3.5 years of using the same ring, but it works just the same.
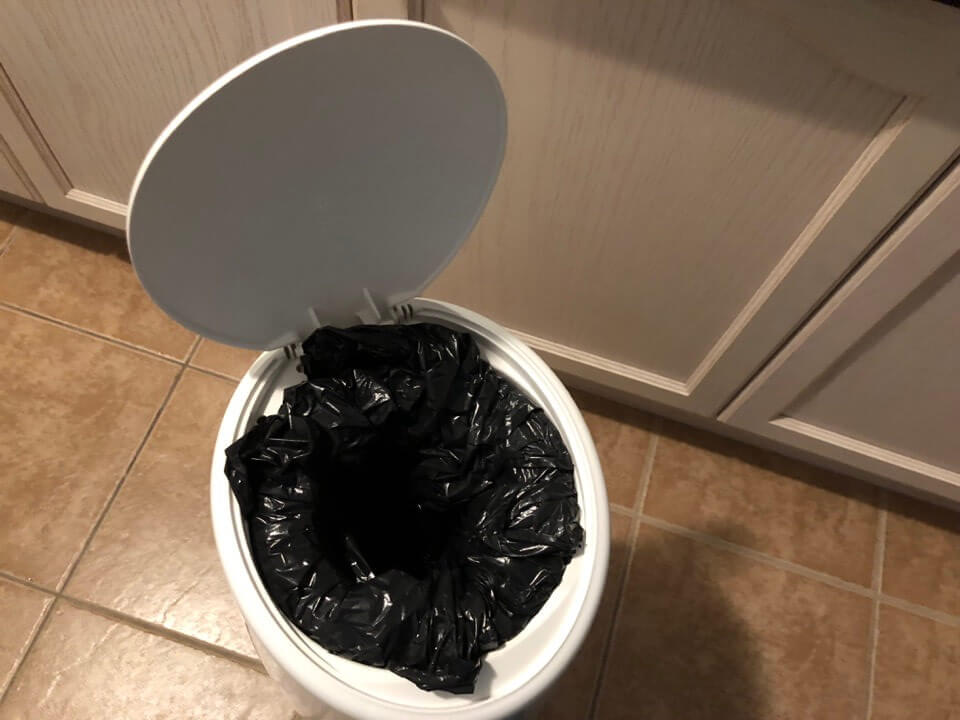
Step 3: Wrap the mouth of the garbage bag around the refill from inside out
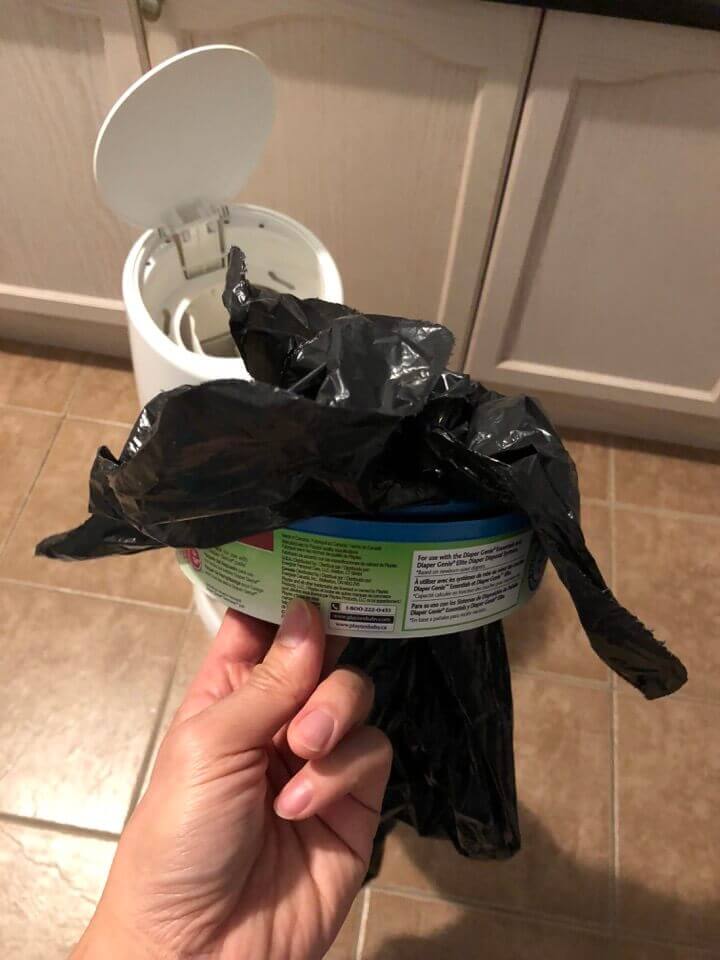
Bundle up the mouth of the garbage bag and push it through the middle of the Diaper Genie refill ring from the bottom up. The ring should now look like it's sprouting a garbage plant of sorts through the top. The garbage bags used in the picture have flaps that make it easier to tie — it will look a little different if you use the flat edge garbage bags, but the instructions are the same.
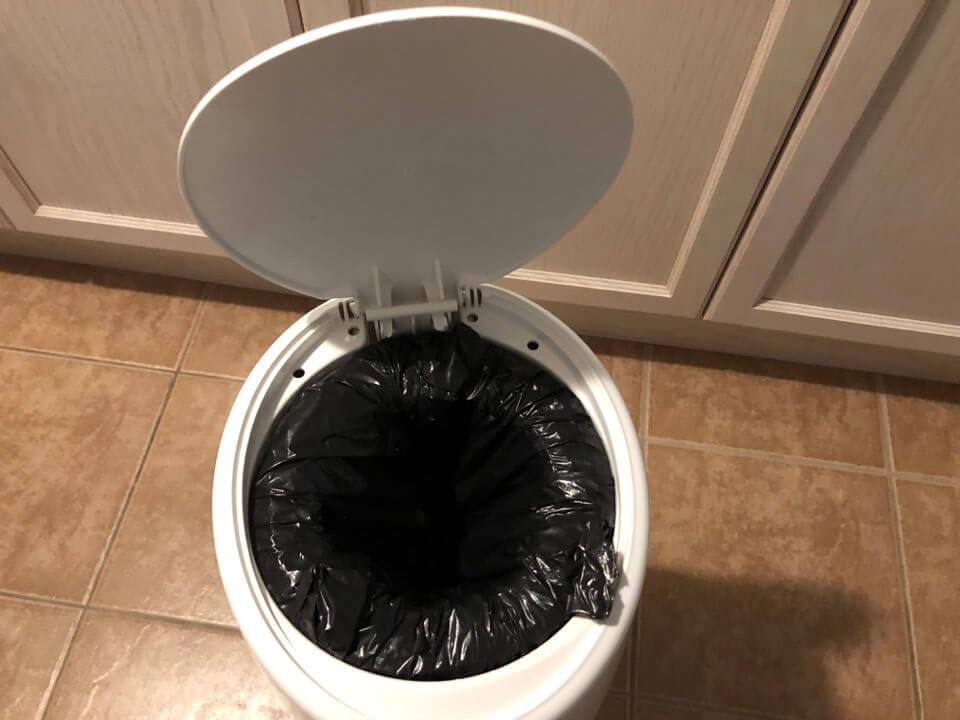
Step 4: Tuck the edges of the bag underneath the ring
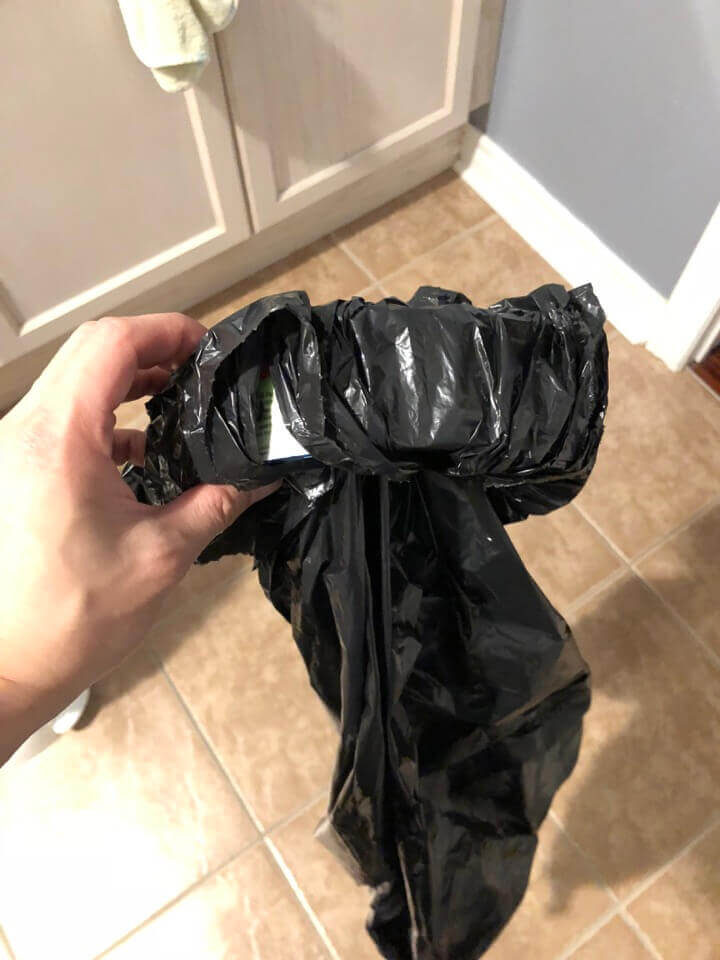
This doesn't have to be perfect. In fact, since you are using your own garbage bags which likely has an opening bigger than the circumference of the Diaper Genie ring, it is perfectly normal for the bag to bunch up underneath the ring. This won't impact the operation of the Diaper Genie at all.
It also doesn't need to be tucked into the gap in the underside of the ring either. Just wrapping it around the ring where about 2" (5 cm) of bag is on the underside is sufficient.
Step 5: Open the Diaper Genie
Step on the Diaper Genie pedal to lift the lid.
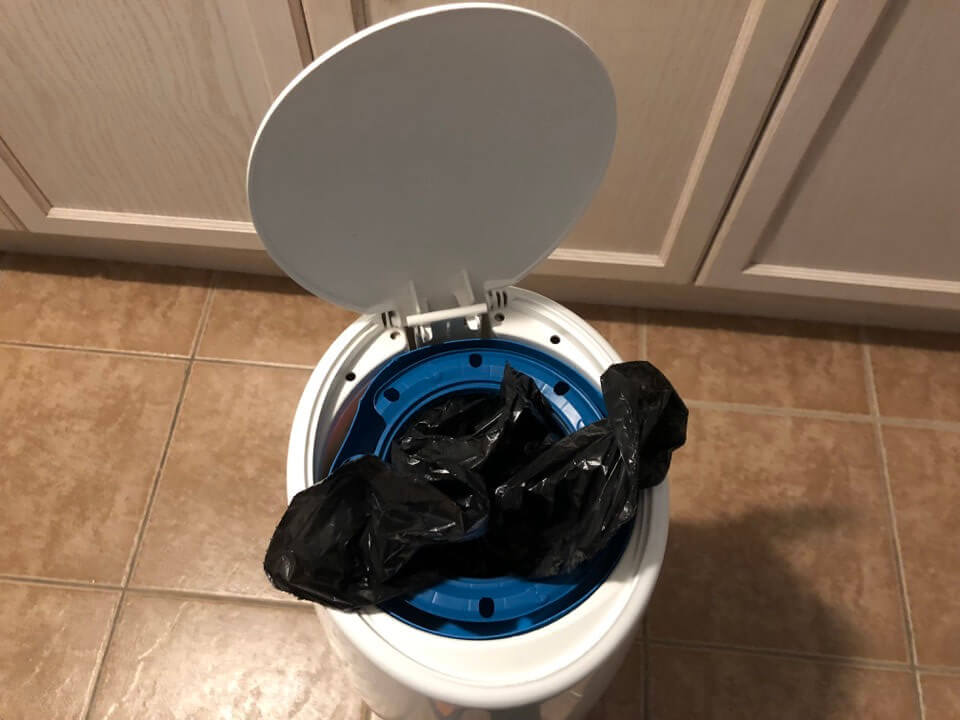
Step 6: Place the ring into the Diaper Genie
Now just place it into the Daiper Genie where you normally would put the ring. You don't need to shove the garbage bag past the jaws of the Diaper Genie, the first diaper you throw in and gravity will ensure that the garabge bag will be set in place.
Again, it's okay if the garbage bag isn't sitting perfect around the ring, once you start putting diapers in, the weight of the diapers will pull down on the bag and tighten everythign up. It's also okay if small parts of the ring is still exposed.
Step 7: Done!
The Diaper Genie is now ready to take your baby's dirty diapers.
What to do when the Diaper Genie gets full
This process differs from how you would typically throw away a bag of dirty diapers with a Diaper Genie refill.
Step 1: Pop open the top of the Diaper Genie
Step on your Diaper Genie to open it up as if you were throwing in a diaper. The lid will pop open.
Step 2: Loosen the garbage bag
Pull on the edges of the garbage bag to lift them out from under the ring. Push the garbage bag through the middle of the ring so that the ring is now sitting exposed in the Diaper Genie.
Take your foot off the Diaper Genie pedal to close the lid.
Step 3: Open up the Diaper Genie
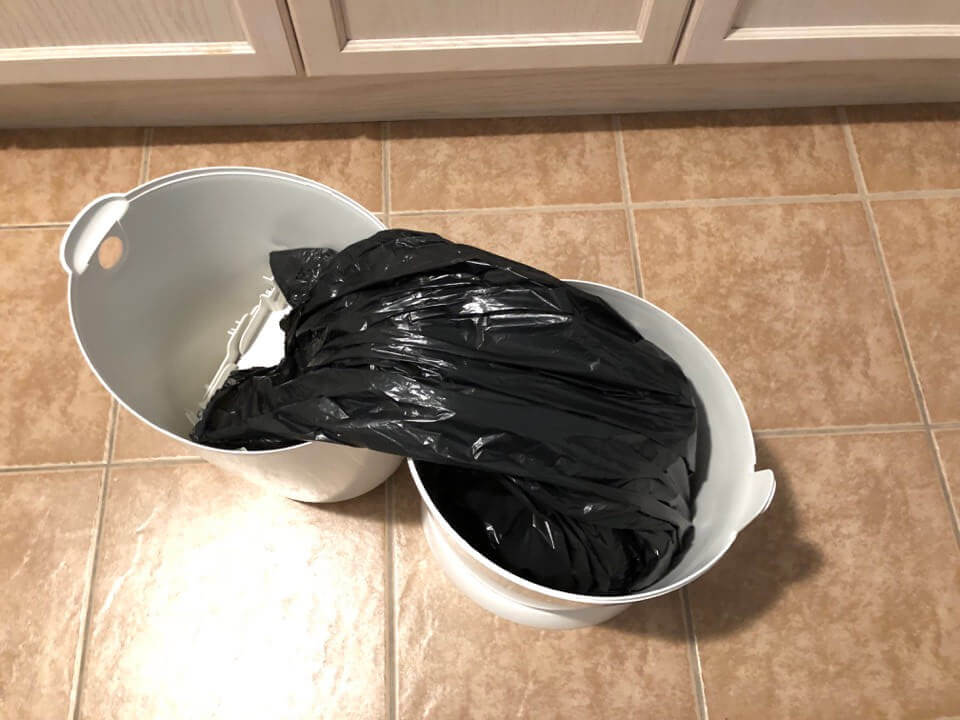
Press the button on the Diaper Genie to open it up for garbage removal. Be careful if your Diaper Genie is very full and do this slowly. The last thing you want is a mountain of diapers rolling onto the floor.
Once you have it open, get a good choke on the garbage bag above its contents and carefully pull it out of the Diaper Genie. Like a rabbit out of a magician's hat, ta-da!
Step 4: Throw away the bag
Tie a knot at the top of the bag, and it's ready to be tossed. You may want to push out as much of the air in the bag as possible before tying it up. That's completely up to you and how long you can hold your breath or tolerate the smell of old fermenting diapers.
Now throw it out!